Hey there, aspiring video wizards! Ready to transform your raw footage into social media gold? Buckle up, because we’re about to embark on a journey through the magical world of video editing. As a video editors who’s been through the editing trenches, I’m here to share some tricks of the trade that’ll have you editing like a pro in no time.
In this article one of our video experts will share tips and knowledge about video editing guides.
Table of Content
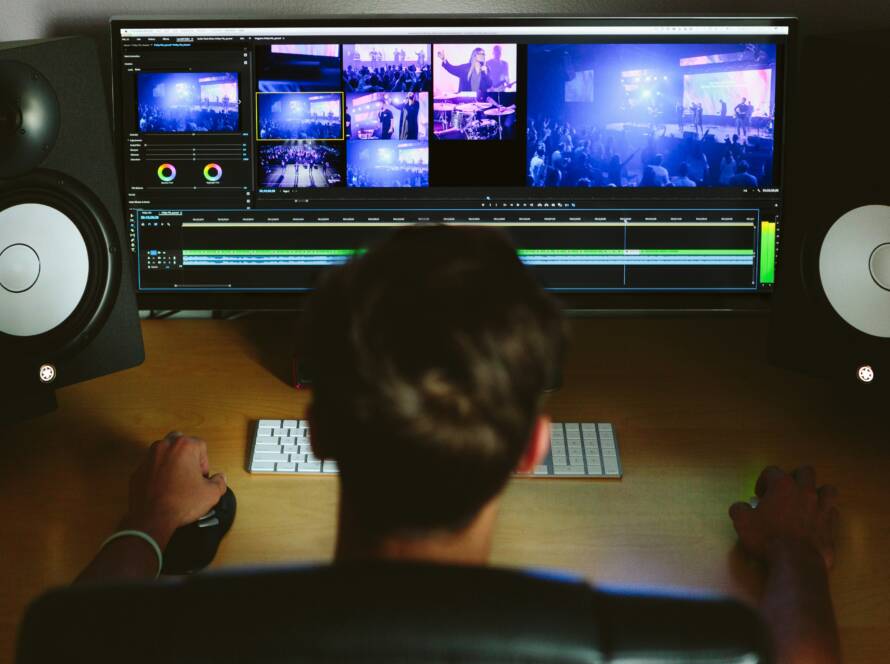
The ABCs of Video Editing
Let’s start with the basics, shall we? Think of video editing like cooking – you need to know your ingredients before you can whip up a masterpiece.
– Clips: Your raw footage. These are like your veggies and proteins.
– Timeline: Your cutting board. This is where the magic happens!
– Transitions: The spices that add flavor to your video stew.
– Effects: The garnish that makes everything look pretty.
Pro Tip: Don’t go overboard with effects. I once added so many lens flares to a video that it looked like J.J. Abrams directed my cat’s birthday party. Less is often more!
Capturing Gold: Getting Great Raw Footage
Before you even think about editing, you need to shoot some stellar footage. Here’s how:
1. Stability is key: Use a tripod or a gimbal. Trust me, your audience doesn’t want to feel seasick.
2. Light it up: Good lighting can make even your grandma’s vintage lamp look Instagram-worthy.
3. Sound matters: Invest in a decent microphone. I once recorded an entire video with my mic off – never again!
4. Shoot more than you need: It’s better to have too much footage than too little.
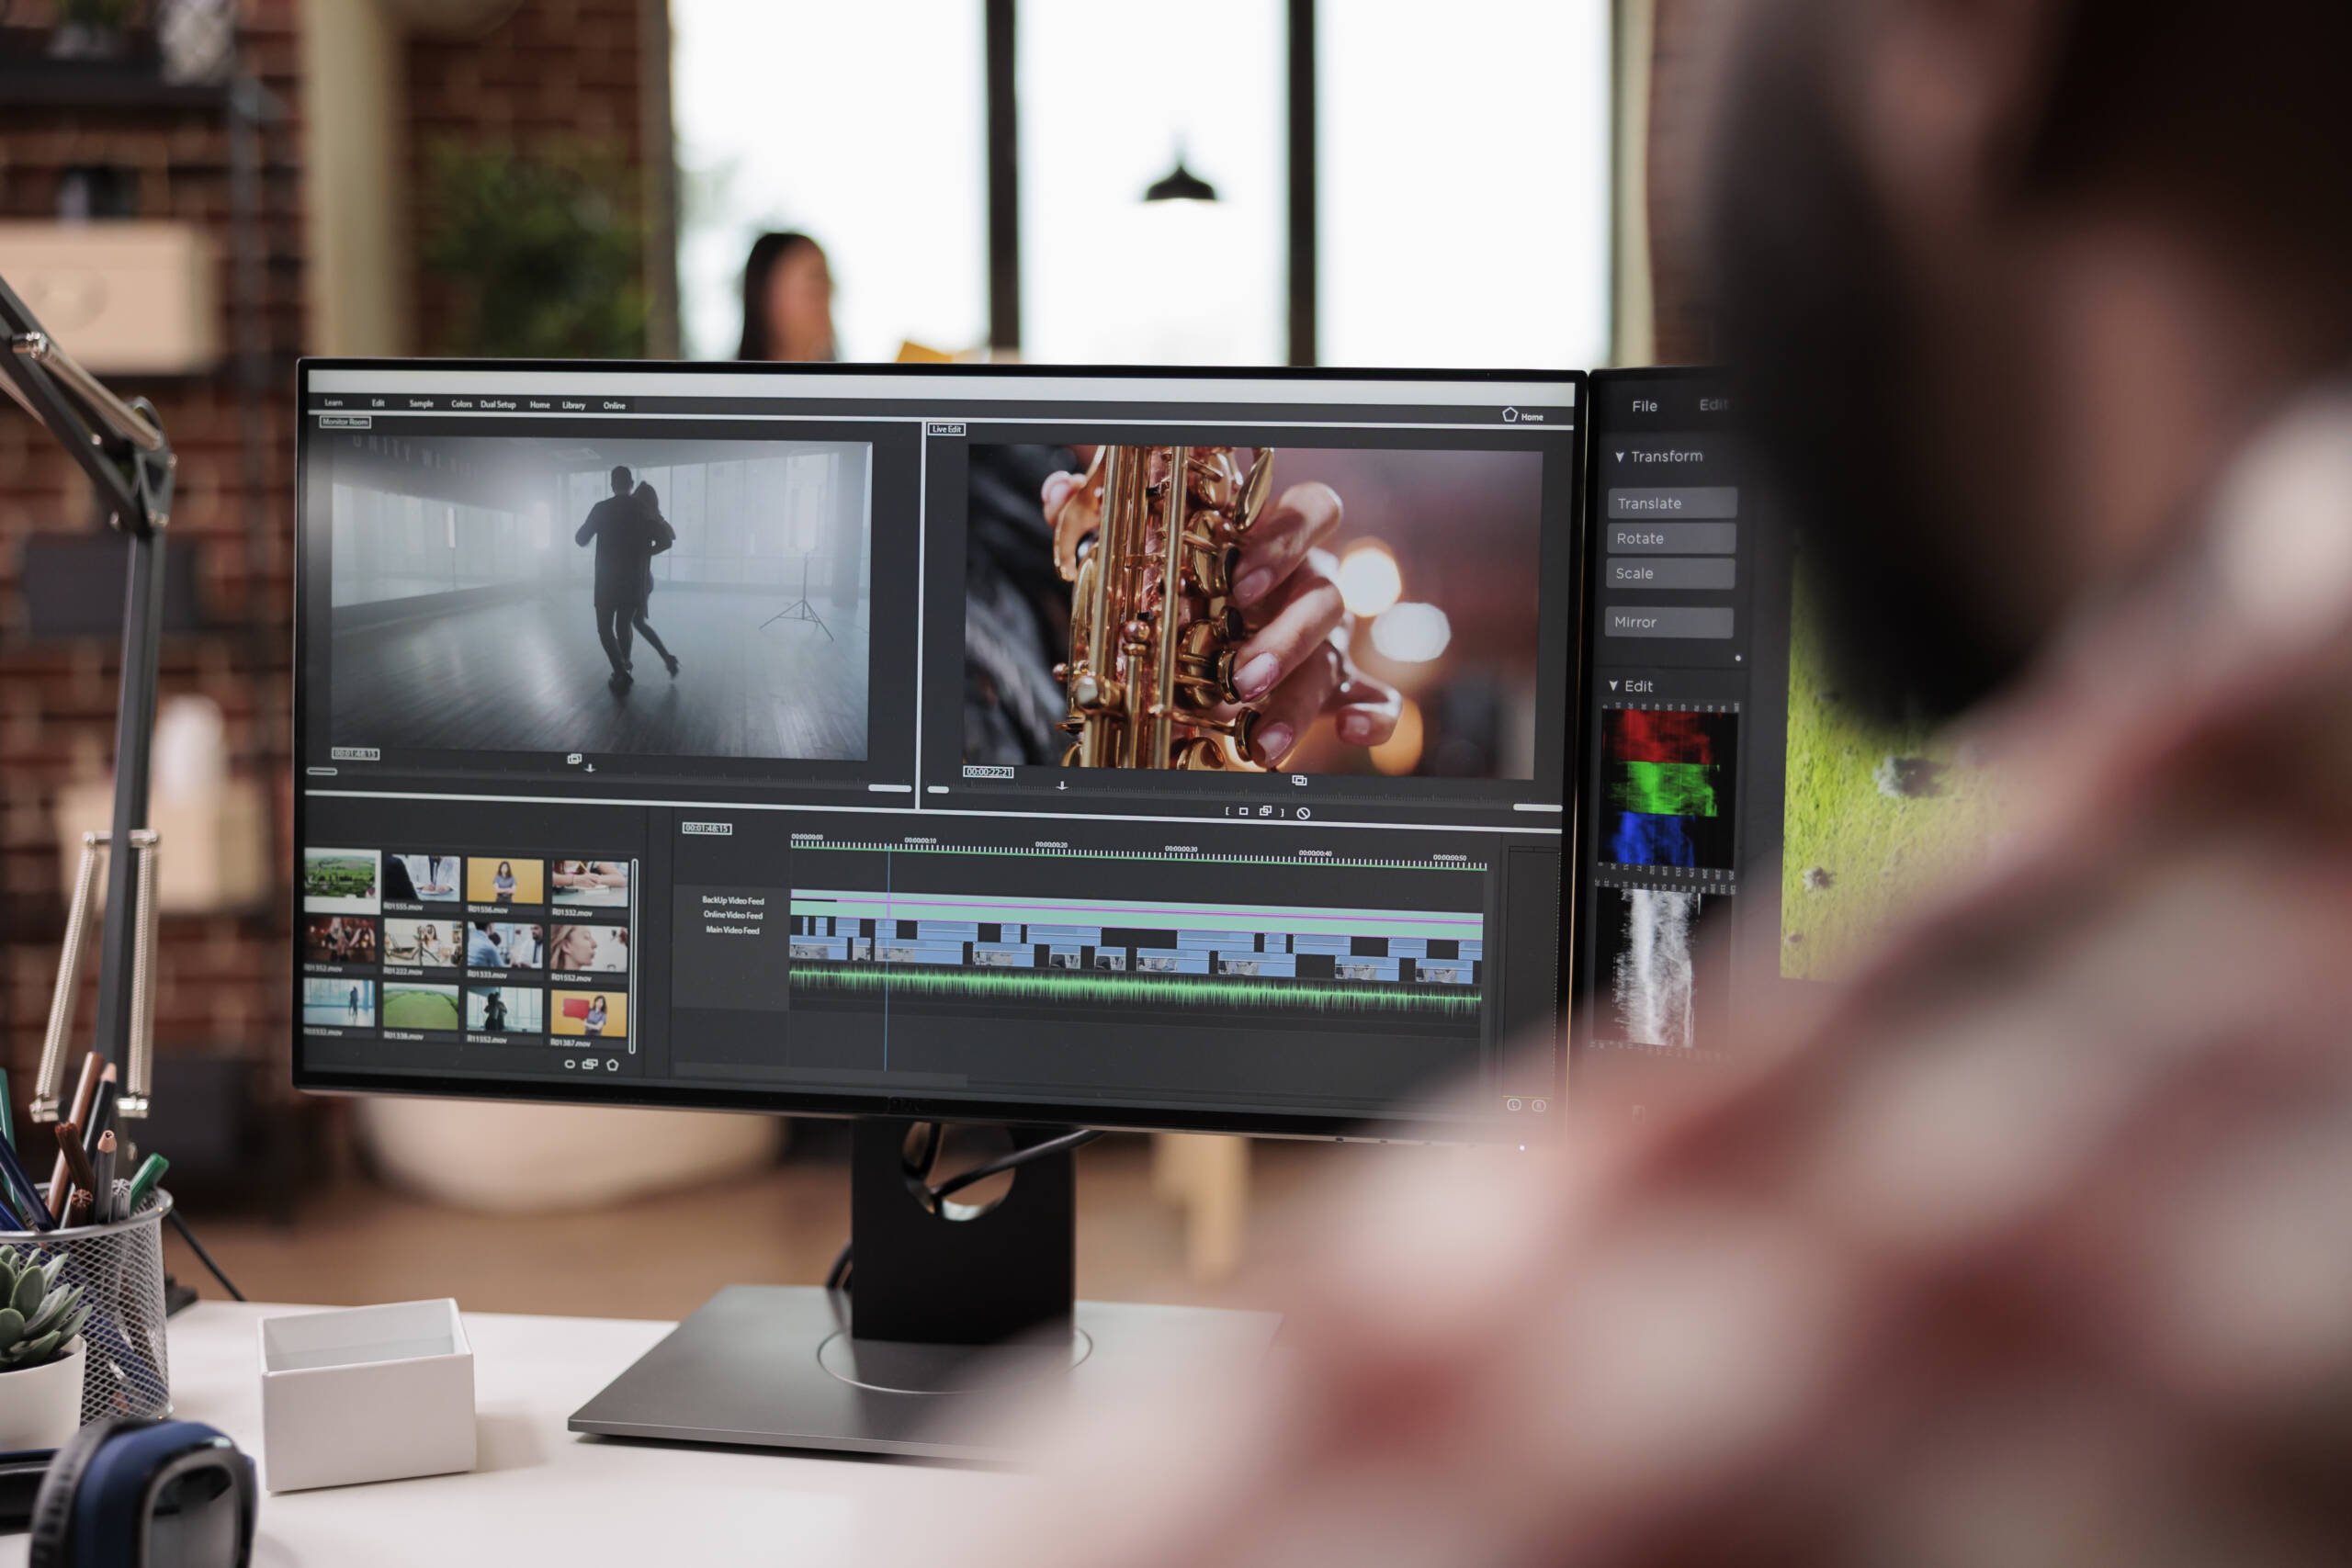
Color Grading: Painting with Pixels
Color grading is where you get to play artist. It’s all about setting the mood:
– Warm tones for a cozy, inviting feel
– Cool tones for a more serious or professional vibe
– High contrast for drama and impact
Remember that time I accidentally made my cooking video look like a horror movie? Yeah, don’t do that unless you’re going for “Cooking with Dracula” vibes.
Transitions: The Invisible Glue
Transitions are like the bass player in a band – you might not always notice them, but you’d definitely miss them if they weren’t there.
| Transition | When to Use It |
| Cut | For quick, dynamic edits |
| Fade | To show the passage of time |
| Wipe | When changing scenes or locations |
| Zoom | To emphasize a detail |
Fun Fact: I once used a star wipe in a professional video. My client asked if I was secretly a teenager from the 90s. Lesson learned!
The Art of the Cut
Editing is all about rhythm. Here are some techniques to keep your audience bopping along:
– J-cuts and L-cuts: Like peanut butter and jelly, these cuts make everything smoother.
– Montages: Perfect for showing progress or the passage of time. Cue the Rocky music!
– Jump cuts: Great for vlogs and adding energy to talking head videos.
Music: The Heartbeat of Your Video
The right music can make your audience feel things. The wrong music can make them feel confused and slightly uncomfortable. Choose wisely!
1. Match the mood: Upbeat for fun content, mellow for serious stuff.
2. Consider your audience: What would they enjoy?
3. Beware of copyright: Use royalty-free music or risk the wrath of the copyright gods.
Storytelling: The Soul of Your Content
Every video should tell a story, even if it’s just “How I Made This Amazing Sandwich.”
1. Hook ’em early: Grab attention in the first few seconds.
2. Build tension: Keep them wondering what’s next.
3. Deliver the payoff: Satisfy their curiosity.
4. Call to action: Tell them what to do next.
Remember, you’re not just editing video – you’re crafting an experience!
Don’t forget to check out this video about how to successfully catch viewers’ attention and engagement with professional video editing.
FAQ
What’s the best editing software for beginners?
Start with user-friendly options like iMovie (Mac) or Filmora. As you grow, you might graduate to more advanced tools like Adobe Premiere Pro or DaVinci Resolve.
How long should my videos be?
It depends on the platform. YouTube: 7-15 minutes. Instagram: 30 seconds to 1 minute. TikTok: 15-60 seconds. But always prioritize quality over length!
How do I make my videos more engaging?
Mix up your shots, add graphics or text overlays, use music, and most importantly, tell a compelling story. Oh, and cat videos. Everyone loves cat videos.
Should I add subtitles?
Yes! They’re great for accessibility and for viewers watching without sound. Plus, they make your videos look extra professional.
How often should I post?
Consistency is key. Start with what you can manage, even if it’s just once a week. Quality over quantity, always!
How can I improve my audio?
Invest in a good microphone, record in a quiet space, and learn to use noise reduction tools in your editing software.
Social Channel Studios as Video Editor

Look, we can’t all be video-editing ninjas. Sometimes, you need to focus on what you do best and leave the editing to the pros. That’s where services like Social Channel Studios come in handy. They can help with:
– Creating thumbnails that make people want to click
– Adding those fancy effects you can’t quite figure out
– Keeping your content consistent across platforms
– Saving you time (which you can use to create more content… or nap. I vote nap.)
If you are interested in hiring us or learning more about our services, please contact us today or book a free consult with one of our specialists. We look forward to working with you!